1. Need Help with the Project Dashboard?
We are here to help! Please review the Q&As below, and if we haven’t answered your question/s please contact us at sparca@customercrunch.com
2. How do I add a new project?
Easy.
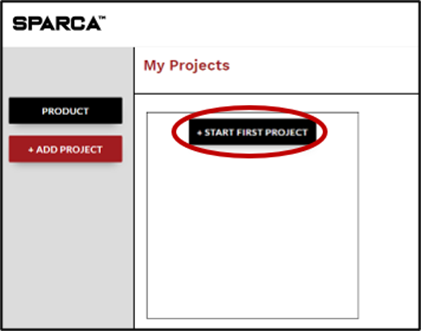
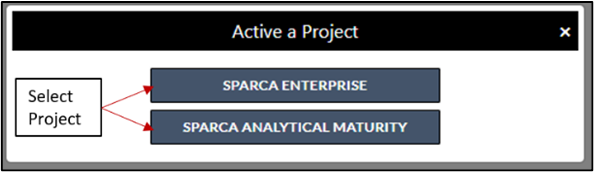
a. If you have accessed your Project Dashboard for the first time you can add a project by clicking on + START FIRST PROJECT. Then select the project you want to commence (only the products that have been purchased will be displayed).
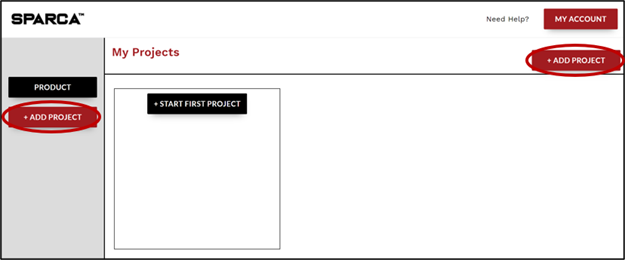
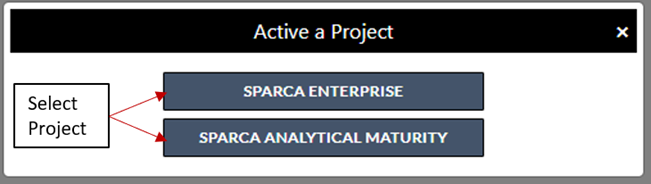
b. Another easy way to start a project is by clicking on the + ADD Project button that you can find either at the top right corner of your screen or at the left top side of your screen. Once you click on the button, you will need to select which project you want to run from the popup menu that is displayed (only the products that have been purchased will be displayed).
c. After selecting which product you want to run, you will need to set up the project.
3. What are the steps to setup the project I selected?
After selecting which project you want to run, you need to follow the instructions to setup the project.
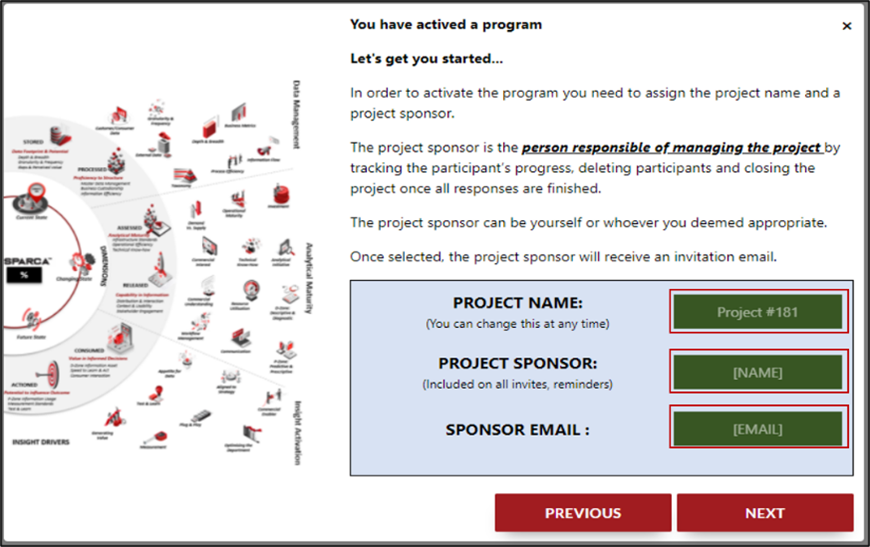
a. First, you will need to add PROJECT NAME, select PROJECT SPONSOR, and add their email. The Project Sponsor can be anyone you choose within your organisation. They will be responsible for tracking the progress of the project and submitting the project once all the respondents have finished their assessments.
b. After choosing the PROJECT SPONSOR and adding the SPONSOR EMAIL, click on NEXT.

c. The next step is to add the participants to the project. You can add them either by downloading a predefined template and uploading the file once completed (see image below)
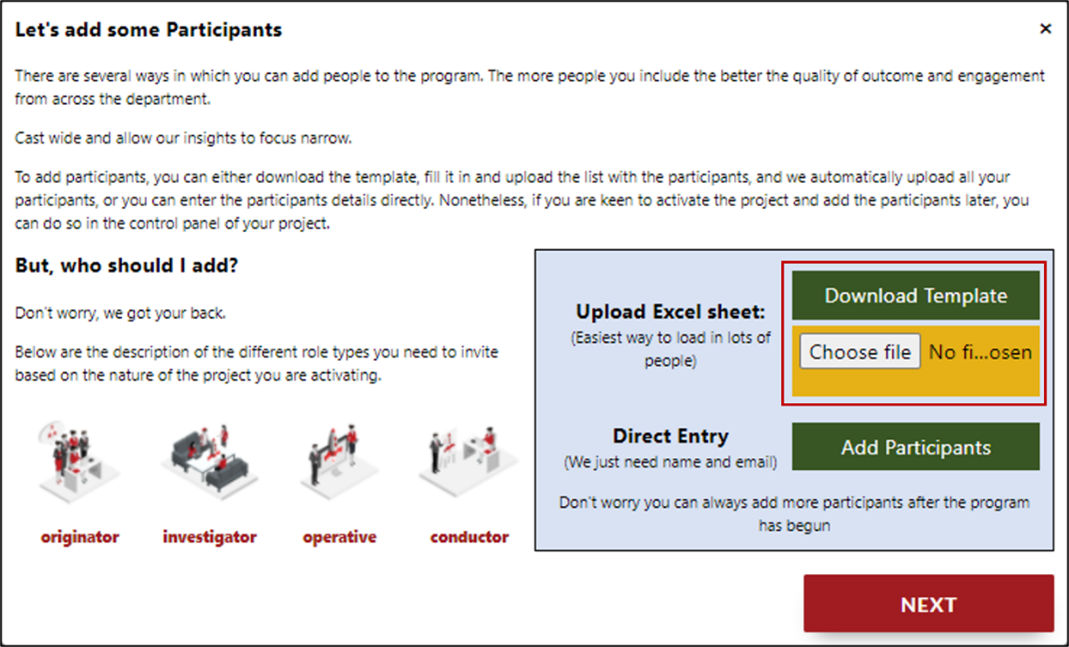
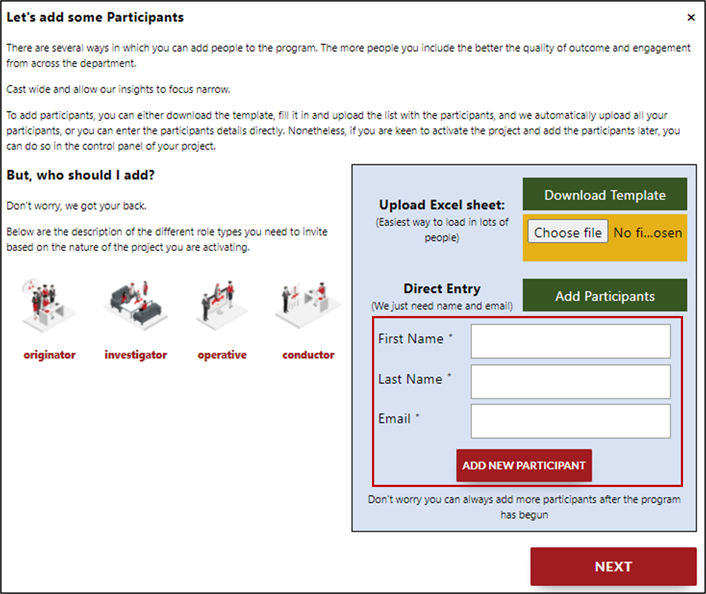
You can add the participant’s details directly in the form . Once you fill the participant’s details, click on ADD NEW PARTICPANT button and the participant will be added automatically into your control panel.
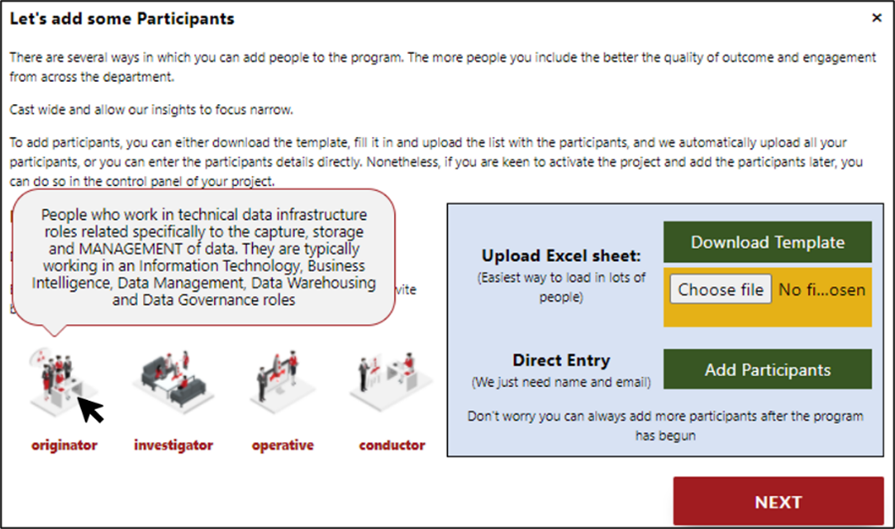
d. But how do I know who to add?
Excellent question. It depends on the project you are running.
For each project in the add participants section, you will see which are the roles recommended to deploy the project and a brief description to help you figure out who are the stakeholders that you need to engage within your organisation. To see the description, you will need to hover your mouse over the icons as seen in the image below.
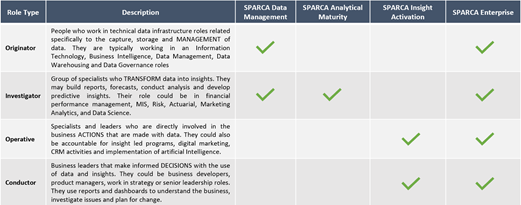
e. Do I need to allocate all the participants in their role?
We knew you would ask this question.
The answer is no. Once you finished adding the participants and click on the NEXT button, each participant will receive an email where they will select their own role, designation and department.
Below is a table with the description of each role type and which role types are allocated in each product.
f. What happens if I forgot to add a participant and I already finished setting up the project?
If this happens, you can add additional participants to the project directly in the project’s control panel and you can add as many participants as you want.
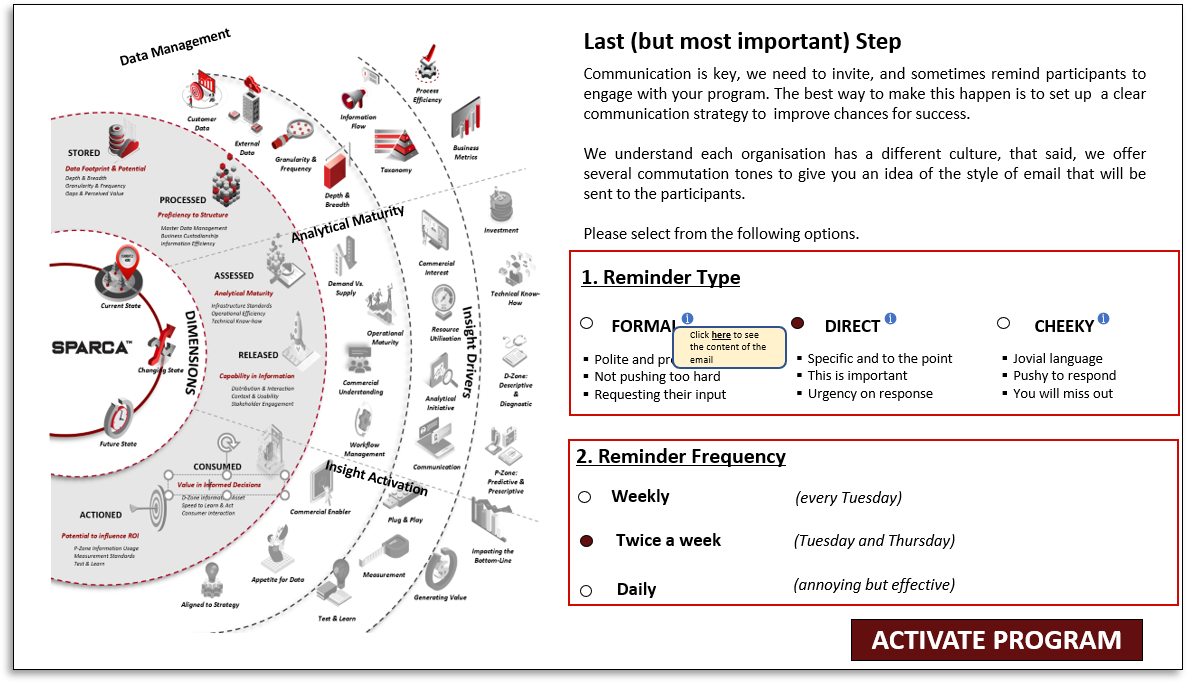
g. The final step to setup the project is to set how you want to communicate with the respondents. To do the later, you will need to choose a reminder type and the frequency. Then click on the ACTIVATE PROJECT.
h. After finishing setting the project, the new project will appear in you Project Dashboard
4. How can I review my Project Results?
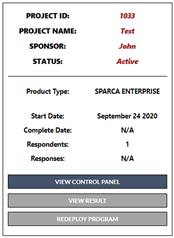
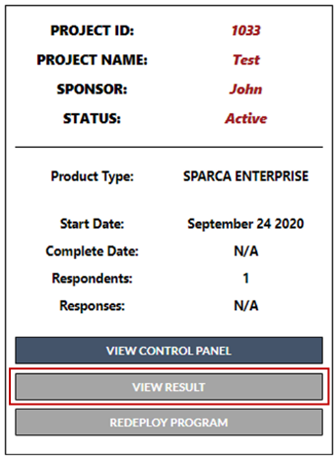
To review the results of a project, you need to click on VIEW RESULT button of the project you need to check. This will only work for projects that have been completed.
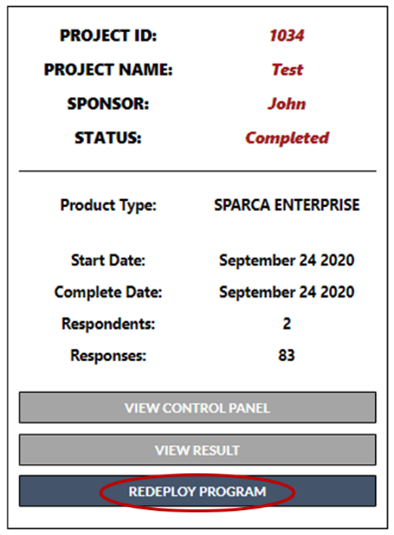
5. I want to reassess a project I have previously run with the same participants, How can I do this?
If you want to do a reassessment of a particular project you will need to redeploy the project. To do this, you will have to select the project and click on “REDEPLOY PROGRAM” (only completed projects can be redeployed).
Then you will need to name your project and select a Project Sponsor and add their email. The Project Sponsor can be anyone you choose within your organisation, it can even be the same as per the previous program.
After choosing the Project Sponsor, click on NEXT.
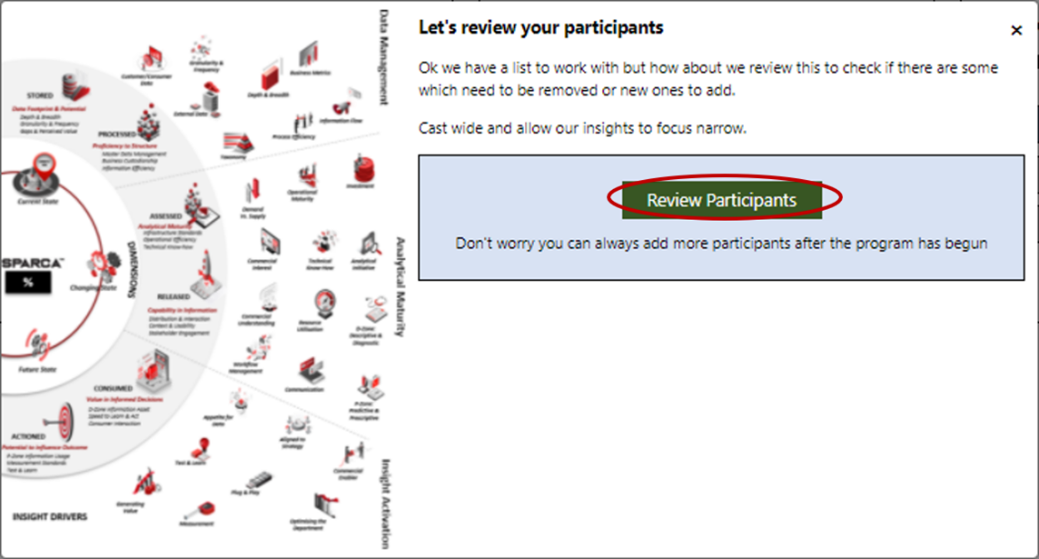
The next step is to set up the project is to set how you want to communicate with the respondents. To do the latter, you will need to choose a reminder type and the frequency. Then click on the NEXT.

The next step is to review the participants who were assigned to engage this project. Click on Review Participants button, check the list of participants and confirm.
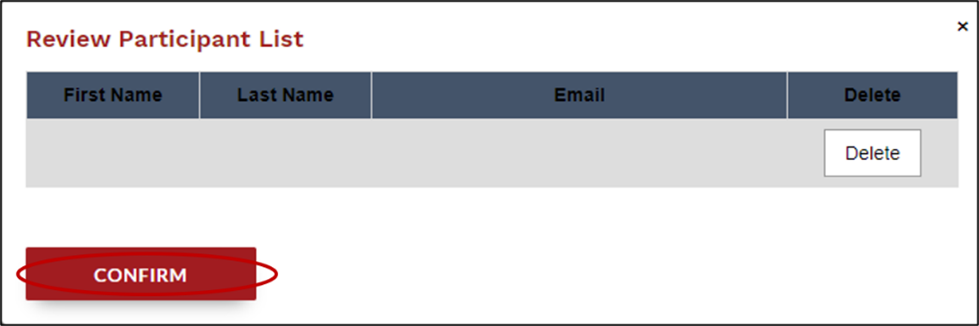
Once you confirm the participants, the project is activated and ready to commence.